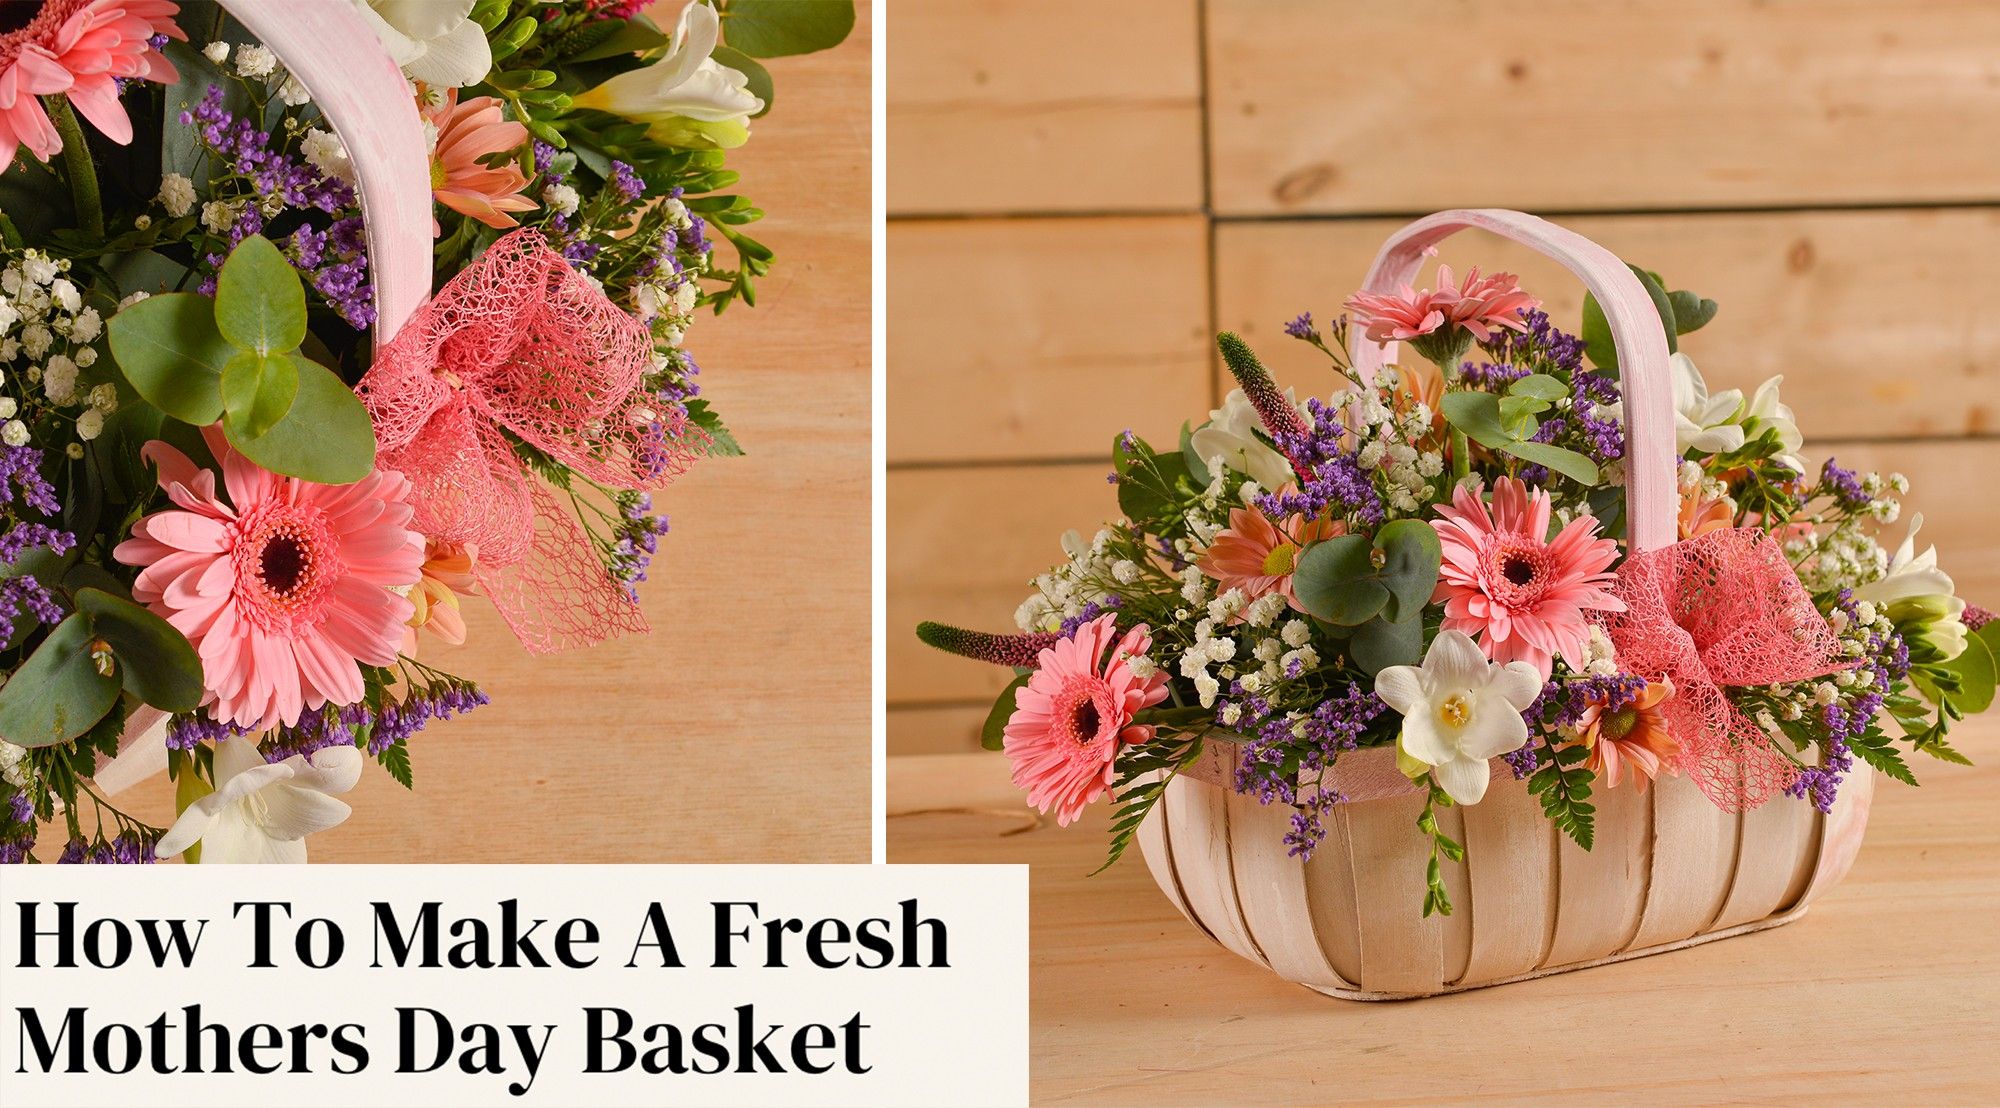
How To Make A Fresh Mothers Day Basket
27 Jan 2023
Flowers will forever be a classic Mother’s Day gift, and they are truly the perfect way to celebrate the Mother Figure in your life!
If you are hoping to gift something a little bit more thoughtful than a bouquet brought in shop, then this blog may be just for you. Read through our step by step guide to making your very own Mothers Day Basket full of beautiful fresh blooms, the perfect handmade gift.
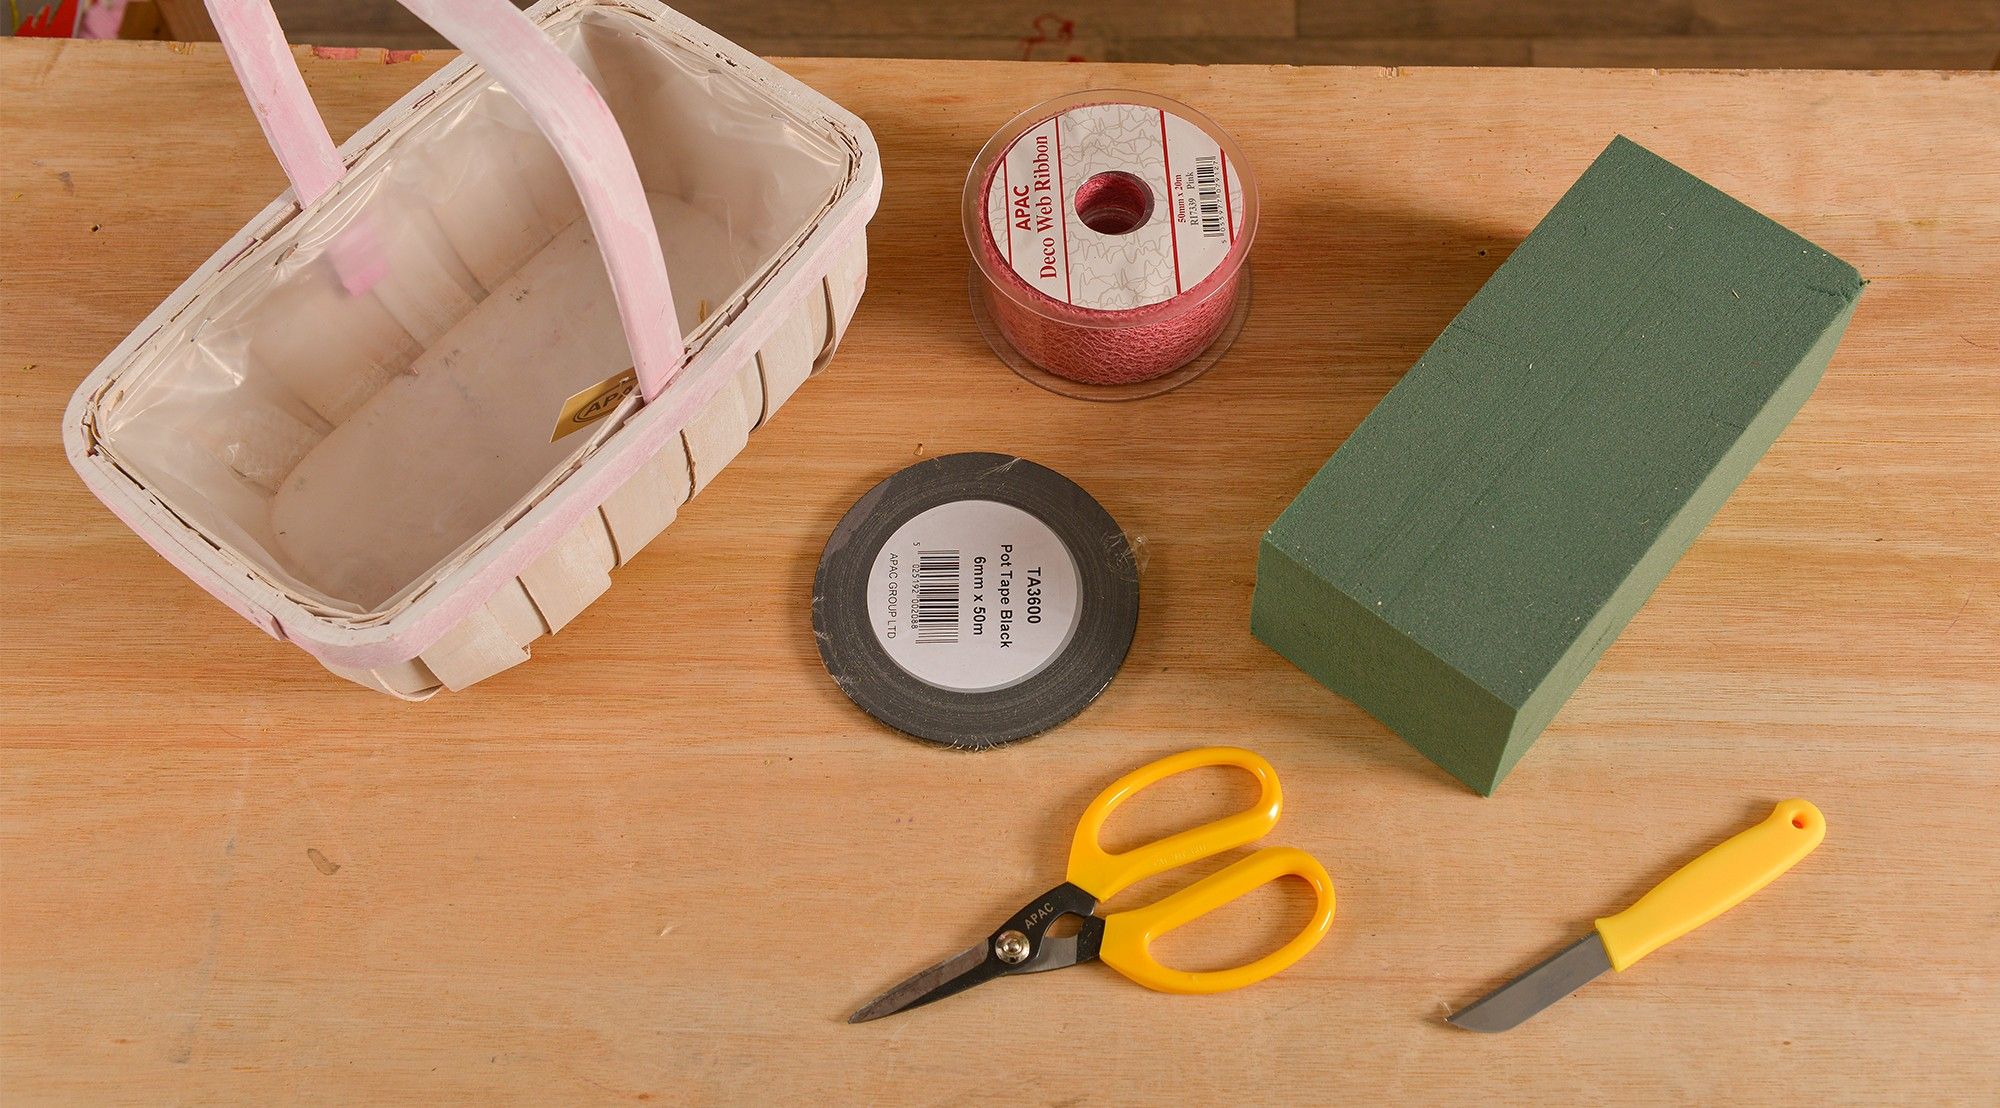
What You Will Need:
- Gypsophila
- Eucalyptus
- Veronica
- Chrysanthemum
- Limonium
- Freesia
- Leather leaf
- Germani
- Astromelia
- Mothers Day Trug Basket - BK2350P
- Floristry Sissors - SC4608
- Floristry Foam
- Floristry Tape - TA3600
- Ribbon - R17339
- String
Step 1)
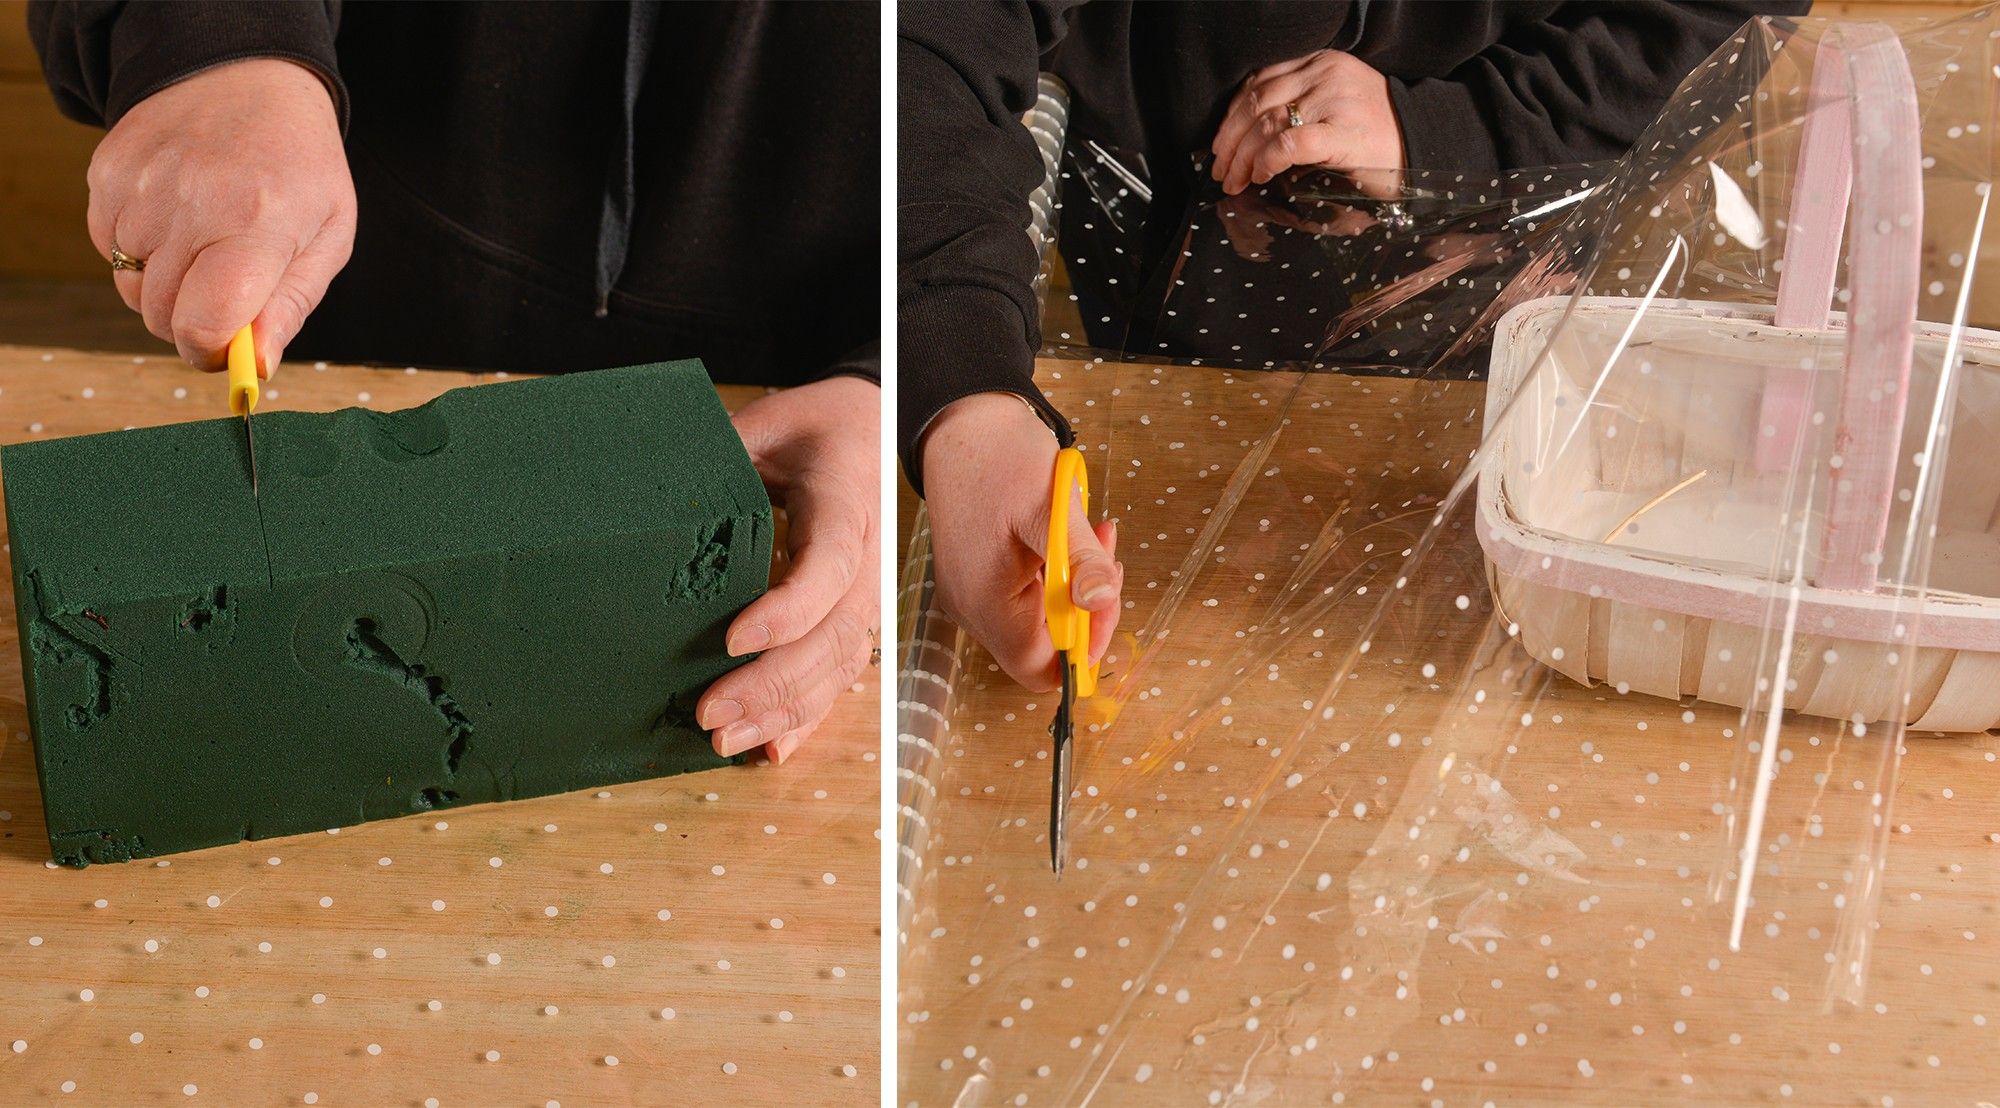
When you have gathered the materials listed above, the first step is to soak your Floristry Foam. Fill a bucket, or your sink with water, rest your floral foam on top of the water, and let it sink into the water with its own weight. Allow it to fully saturate, and sink to the bottom, approximately 2 minutes.
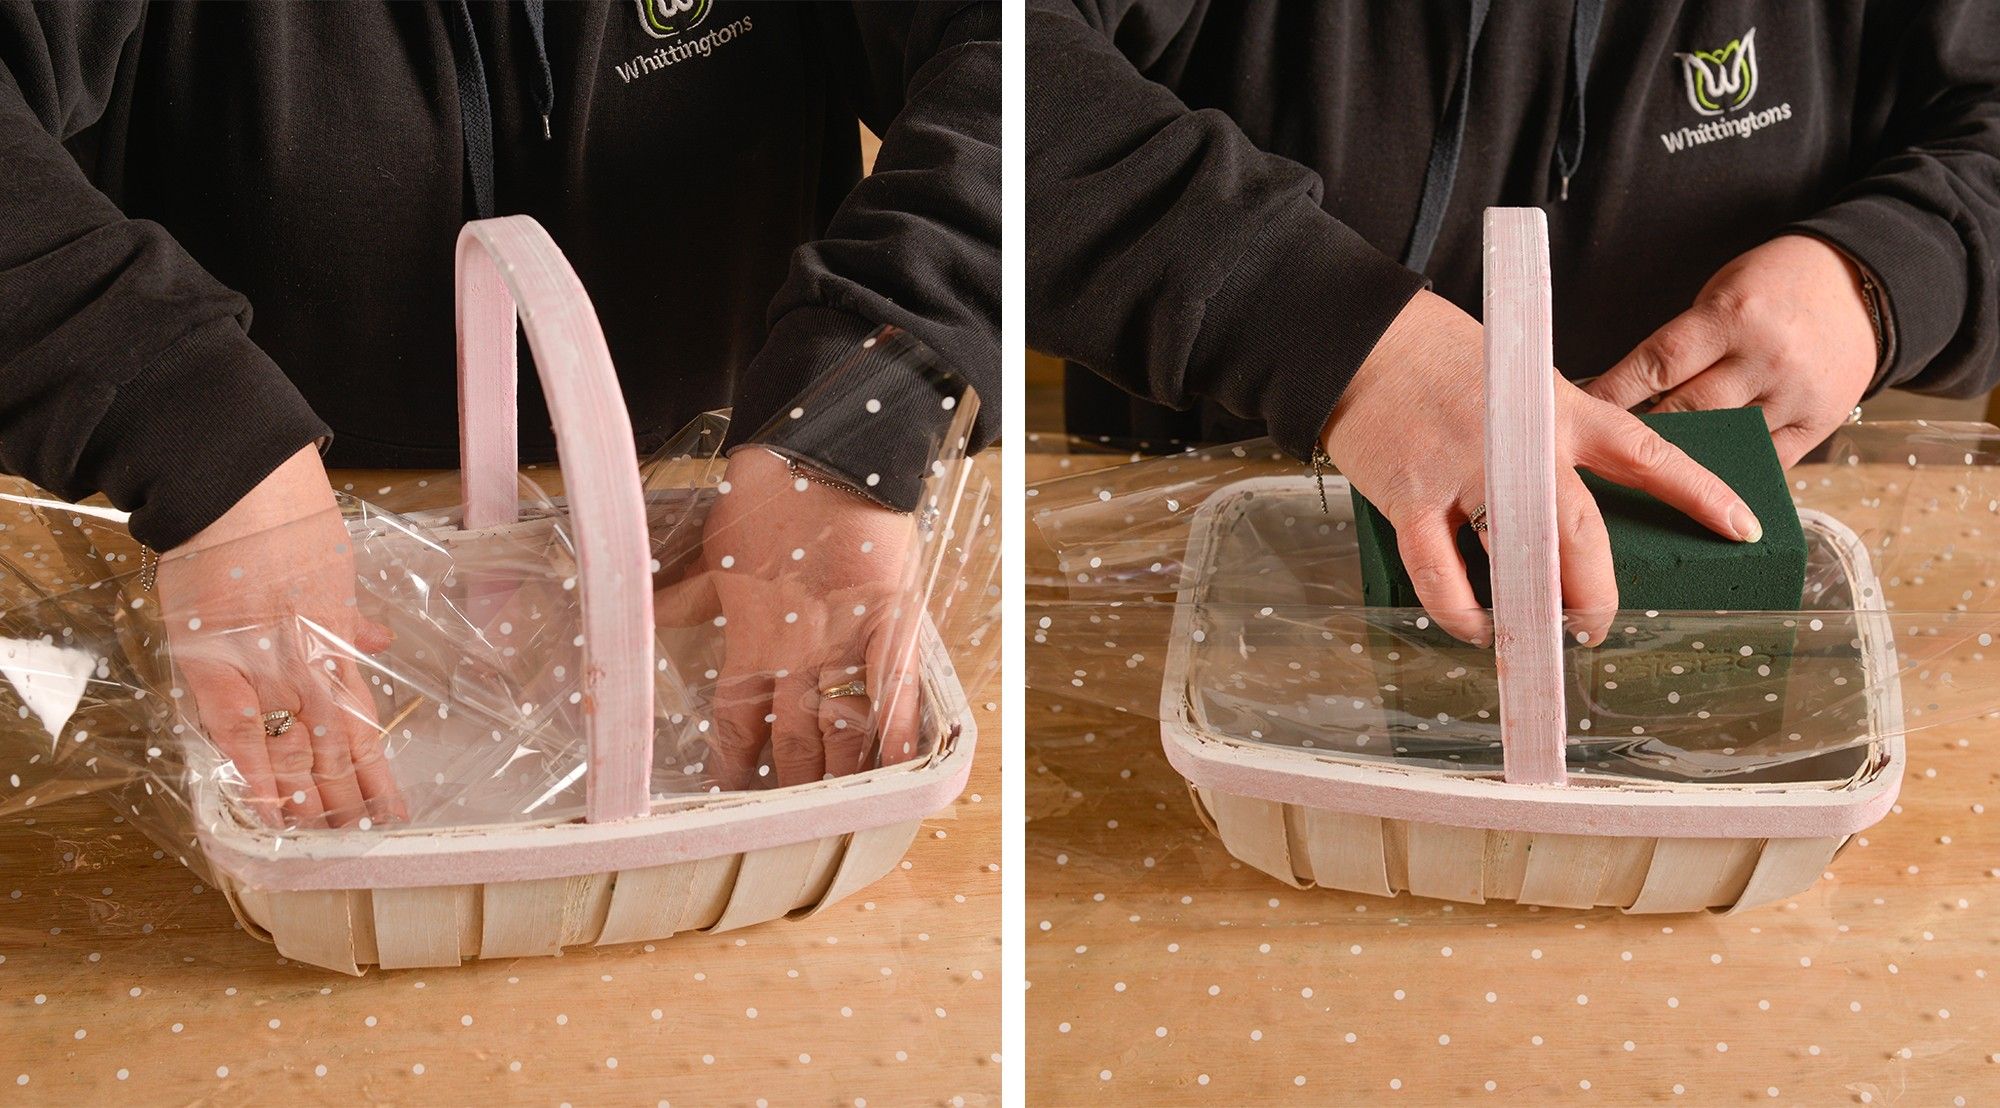
Cut your cellophane, as this will keep the water inside and save the basket from getting wet. When cut, push the cellophane into the basket, and then cut it down to further to fit perfectly inside of the basket so it isn't over the edges.
Once your floral foam has sunk, cut it to fit inside the basket and sit on the cellophane. When cutting it make sure there are gaps between the foam and the basket - this will make the flowers slightly fall out of the basket, rather than coming out too much and over-dominating the basket.
Step 2)
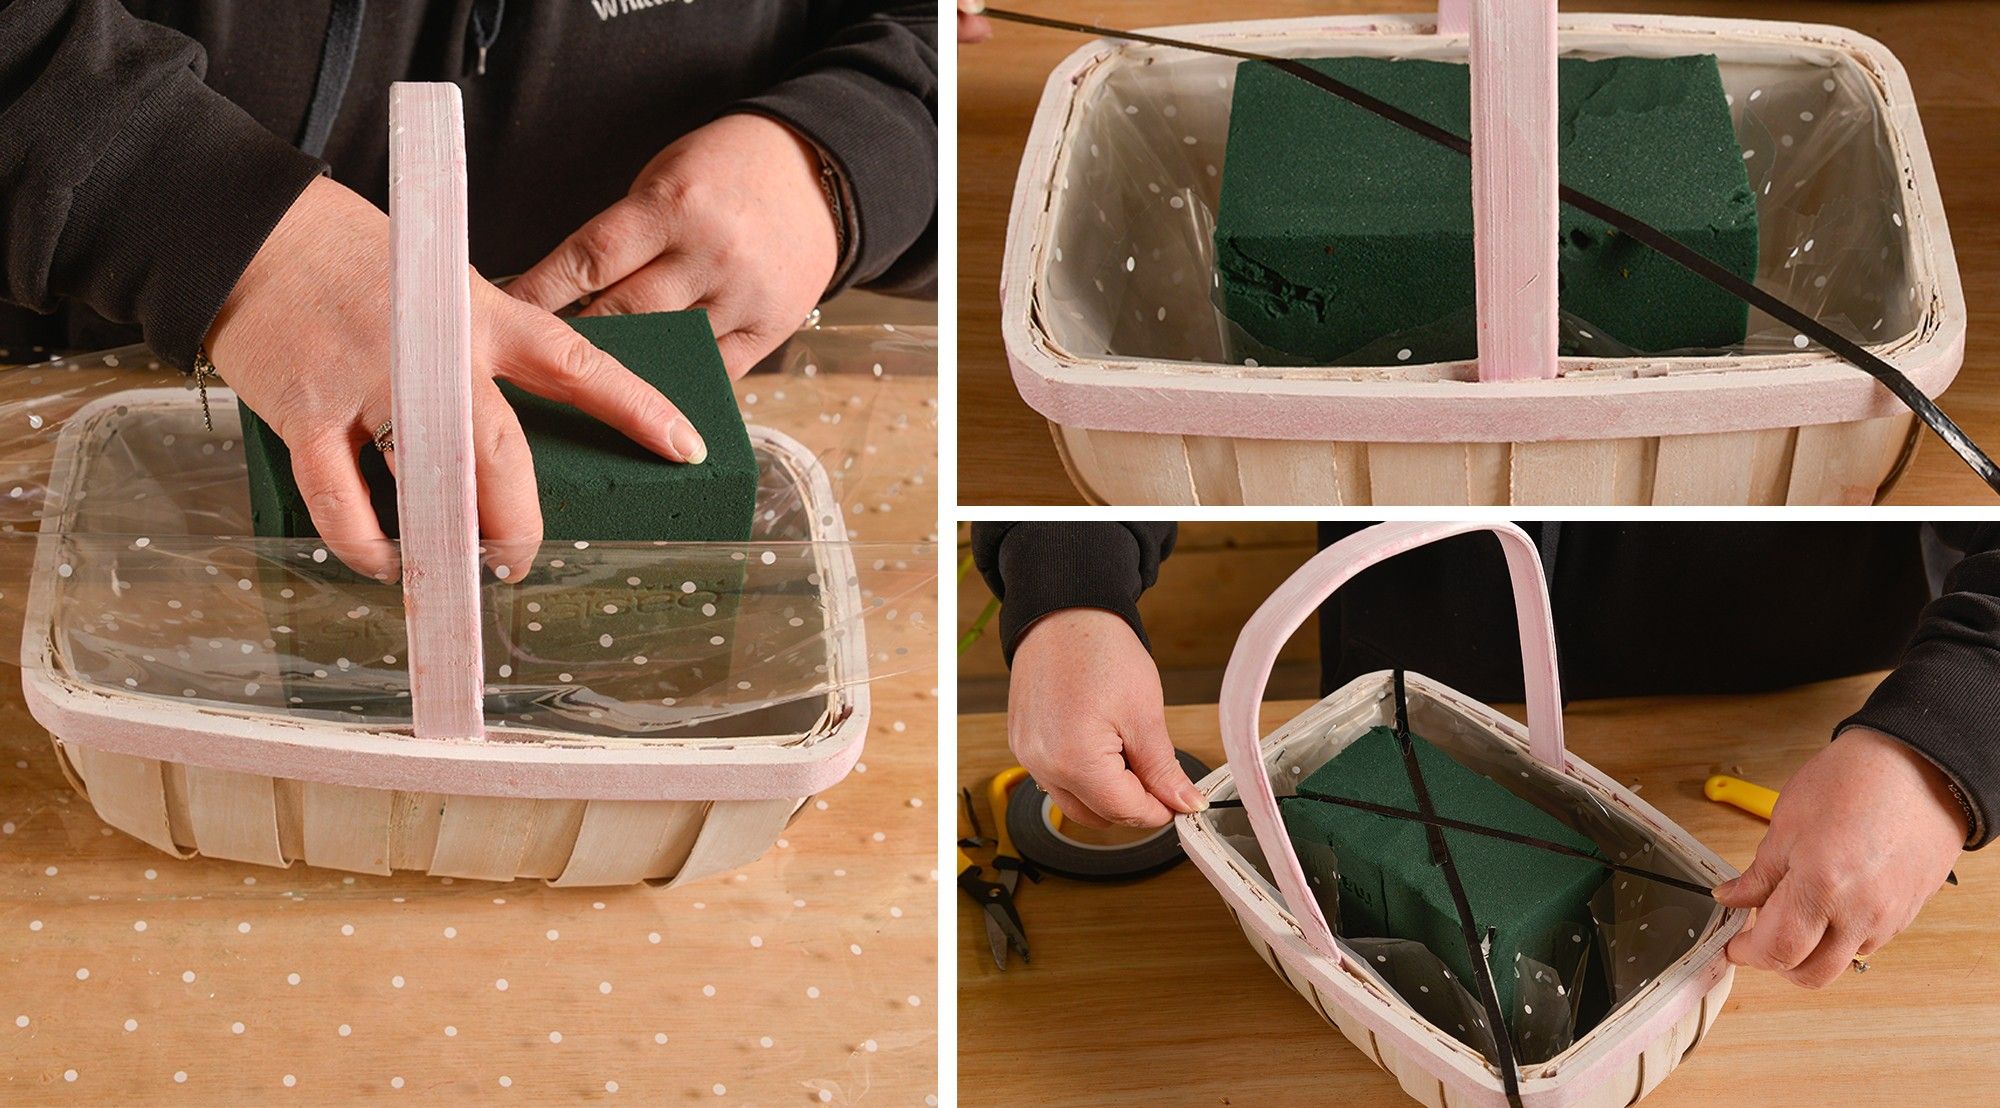
Now your foam is sitting in the basket, it is time to make sure it stays secure inside (important for when transporting it to someone special!). Use your floral tape and stretch it across the foam and tuck it in the sides diagonally of the basket. The particular basket we used has small lines cut in the corners in which you can feed the tape through so it tucks properly under - keeping it that extra bit secure!
Make sure when popping the tape over make an indent in the foam, rather than just resting it on top.
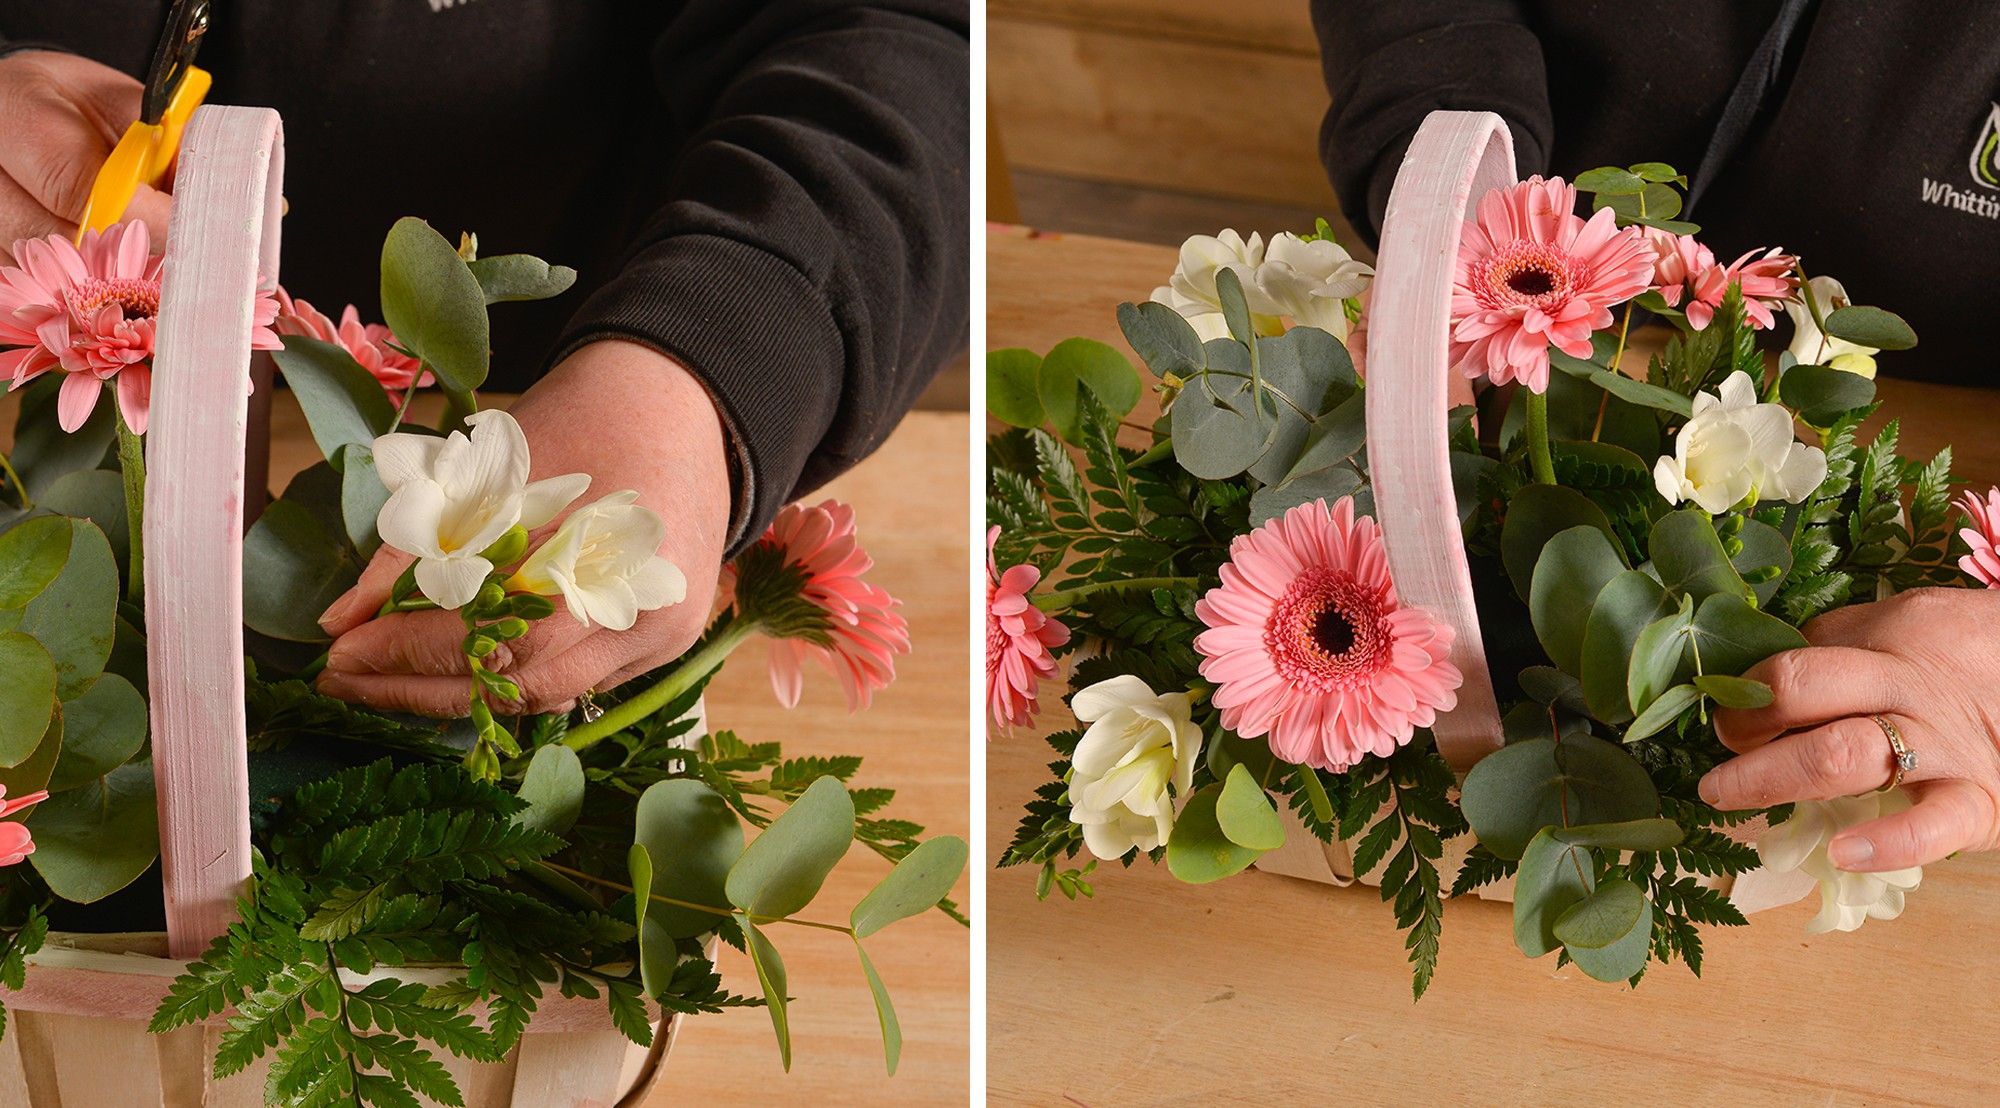
Step 3)
Now you have the base ready, it's finally time to start adding the foliage! We started with the leather leaf, creating an excellent base and texture for the basket. Keep this foliage relatively flat, and place it around the basket following a similar shape. Don't overcrowd with too much of this foliage, as you add more foliage in the next step.

Step 4)
Once the Leather Leaf is in, it's time to add Eucalyptus. The Eucalyptus will add much more volume and start to shape your basket nicely due to the height it will create at the top of the basket. Cut the Eucalyptus from the branch, leaving the stems long enough to poke through the foam.
Spread the Eucalyptus around the basket, roughly leaving it as a 10cm-15cm stem. For the Eucalyptus that you place into the side of the basket, make sure it leans down slightly more to keep a similar shape that the basket makes.

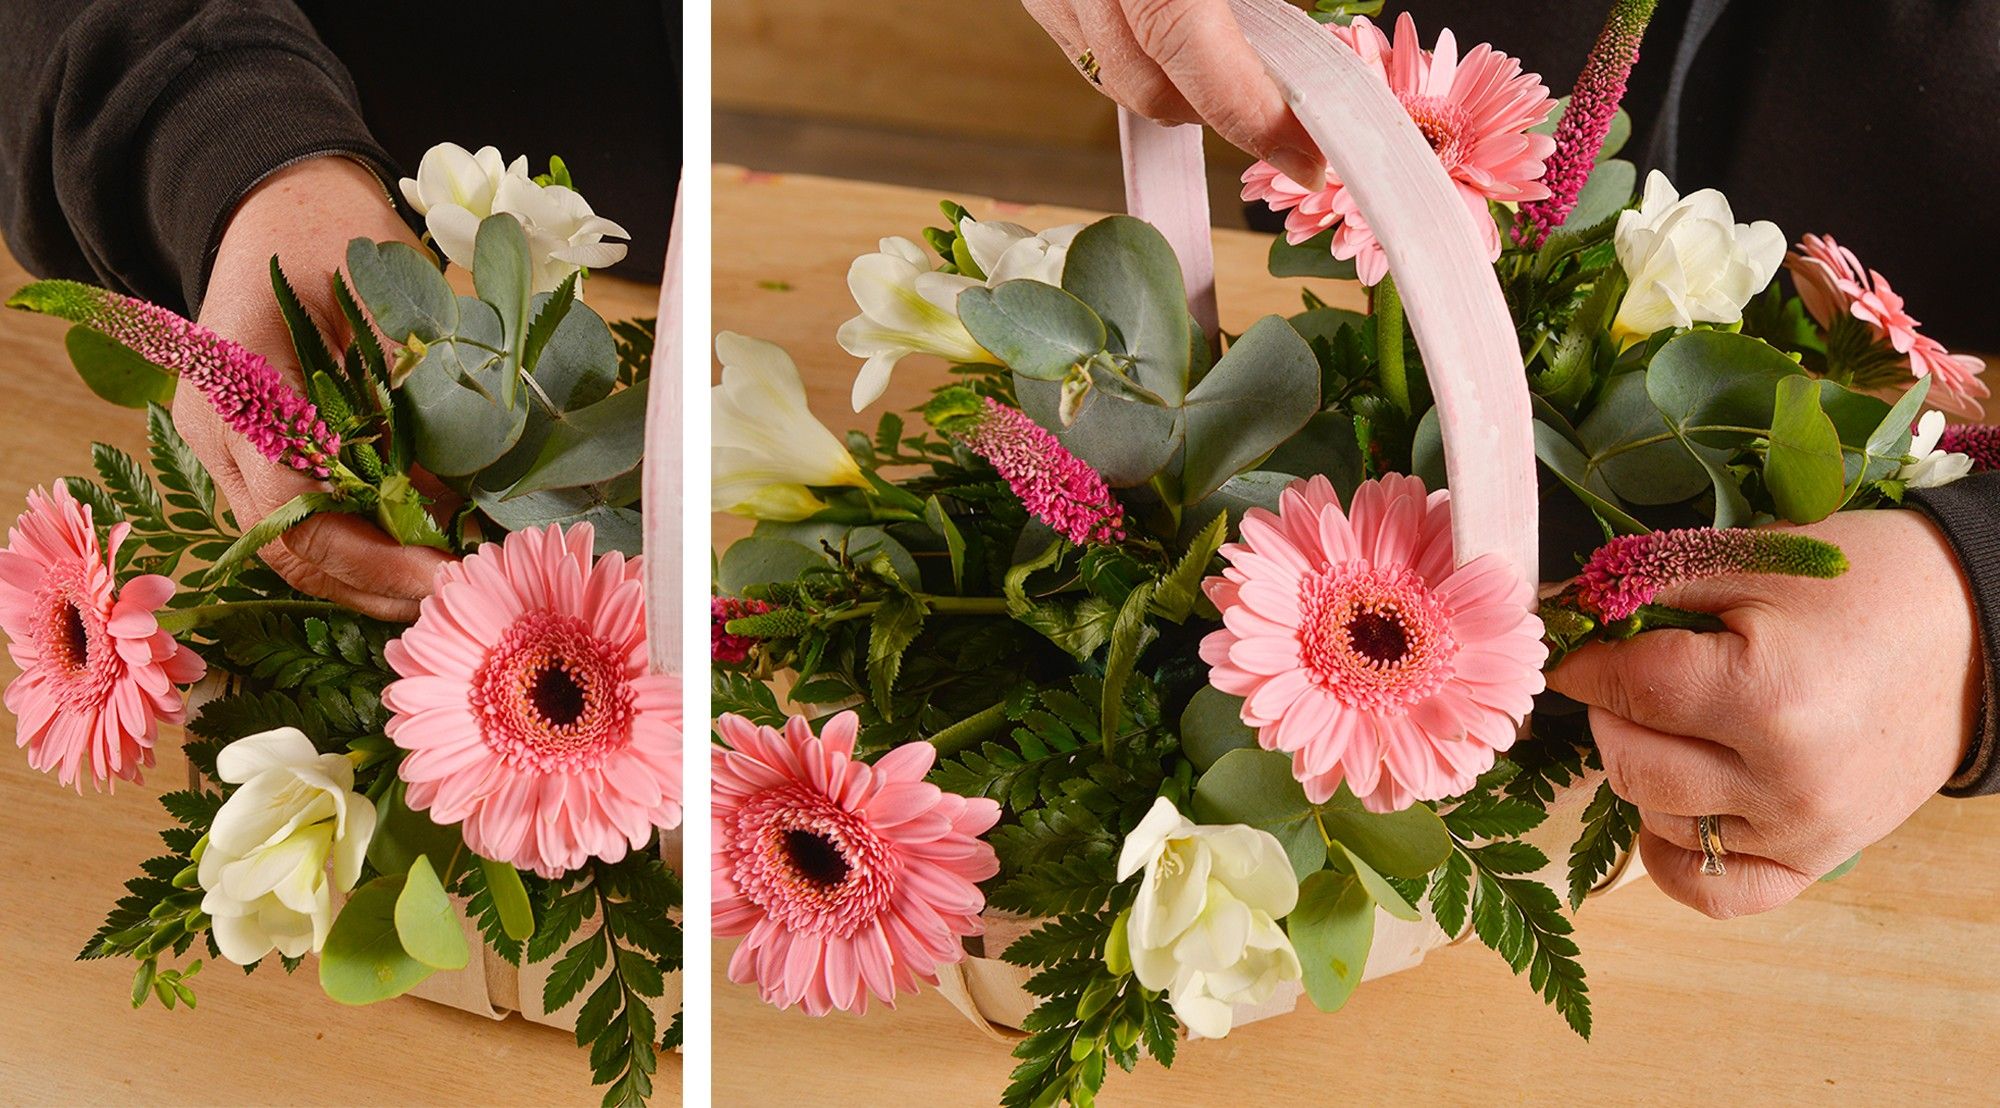
Step 5)
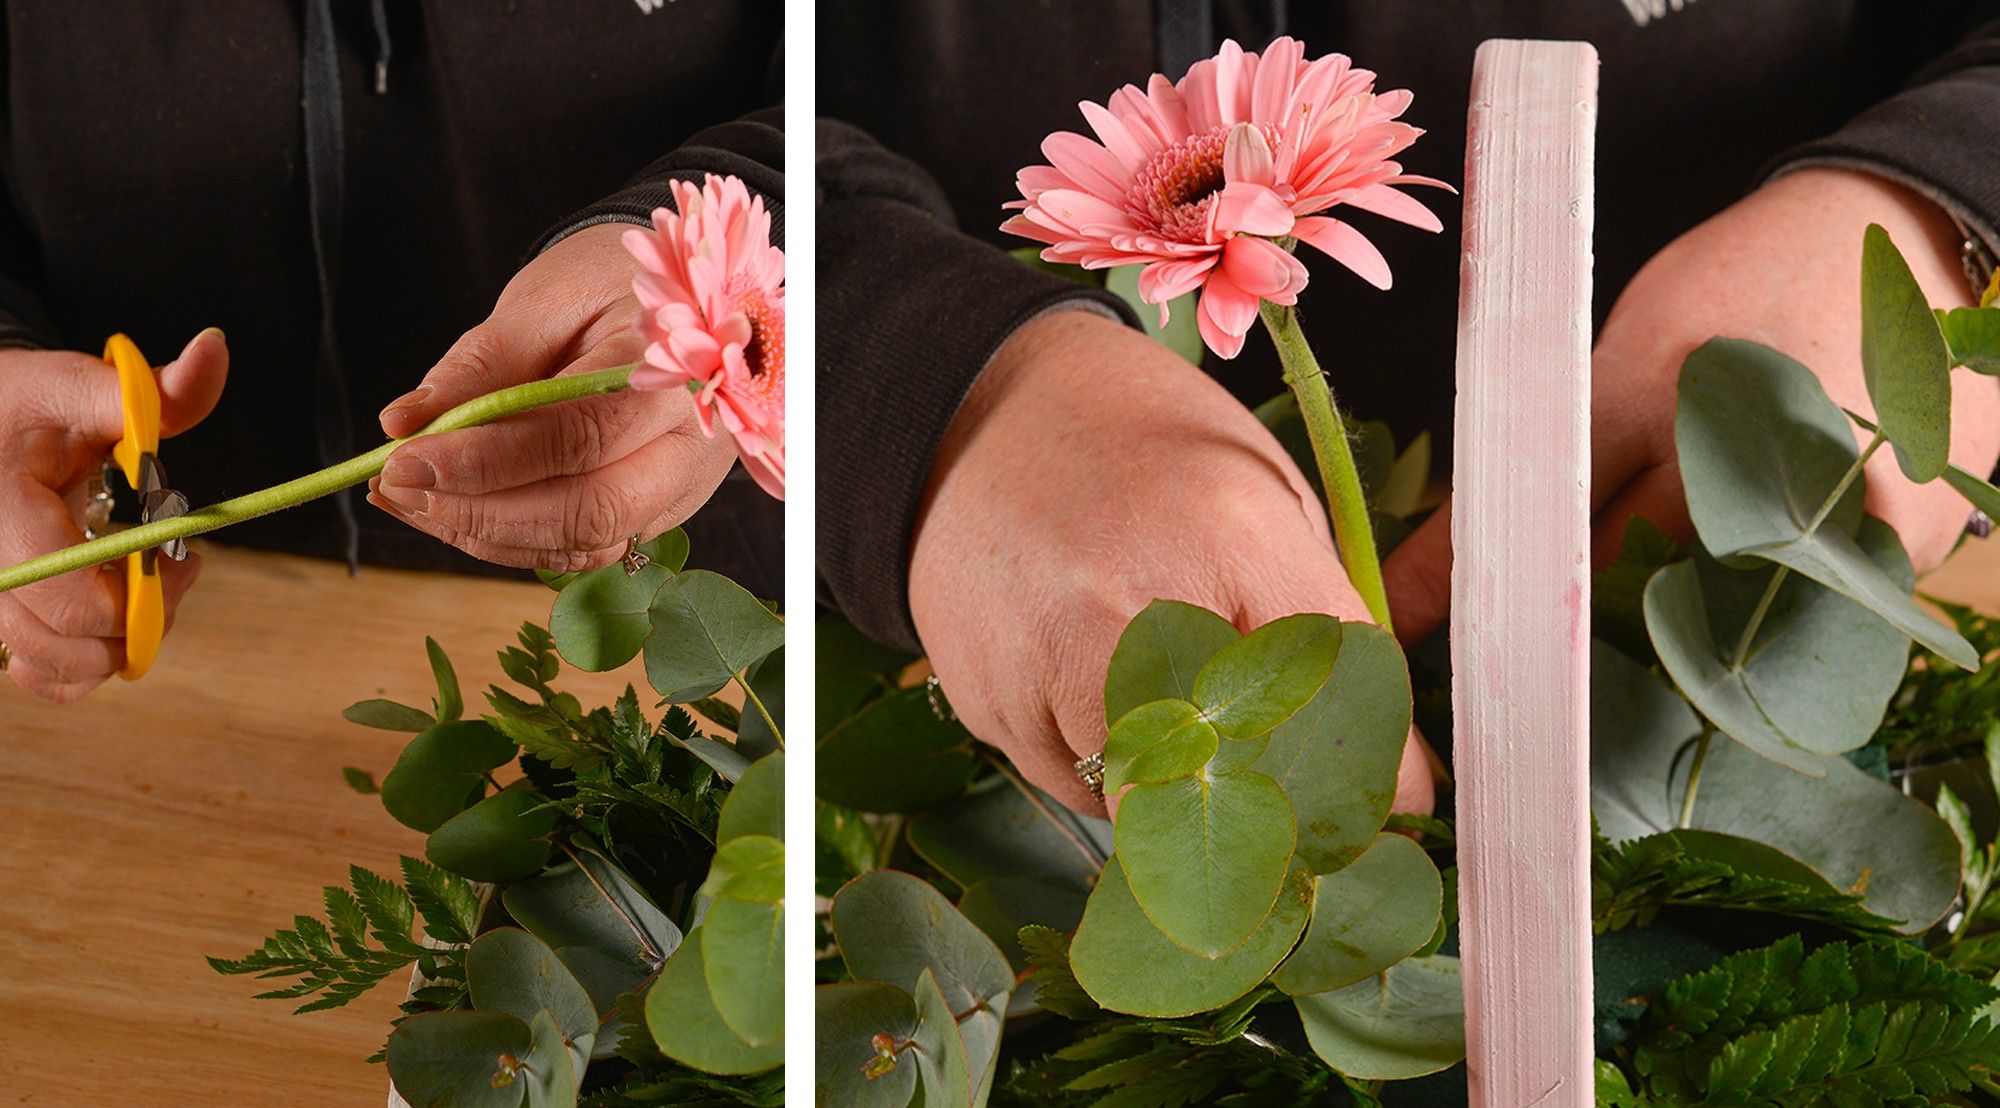
Now it's time to add in the first focal flower, Germani. You don't want to over-dominate the basket with the focal flower, just enough to make the basket look equal and stand out on both sides; we used 7 Germani Stems for this arrangement in total.
Place them in, spreading them in a similar format to the Eucalyptus - using a few in different directions, opposite sides, and keeping it dome-shaped (so the flowers in the middle are higher, and the lower ones are downwards to follow the basket).
When cutting the focal flowers, we suggest cutting the stems at a 45-degree angle so it is easier to push into the foam, as well as the flower lasting longer due to being in contact with water.
Step 6)
Next, it's time to add your filler flower, Astromelia. Following the same pattern as the previous flowers, add these gorgeous filler flowers in the same way. Using a few dotted around each side of the basket, and creating different heights. Make sure to place quite a few of the filler flowers lower down, giving the basket a lovely amount of recession and making it aesthetically pleasing overall.
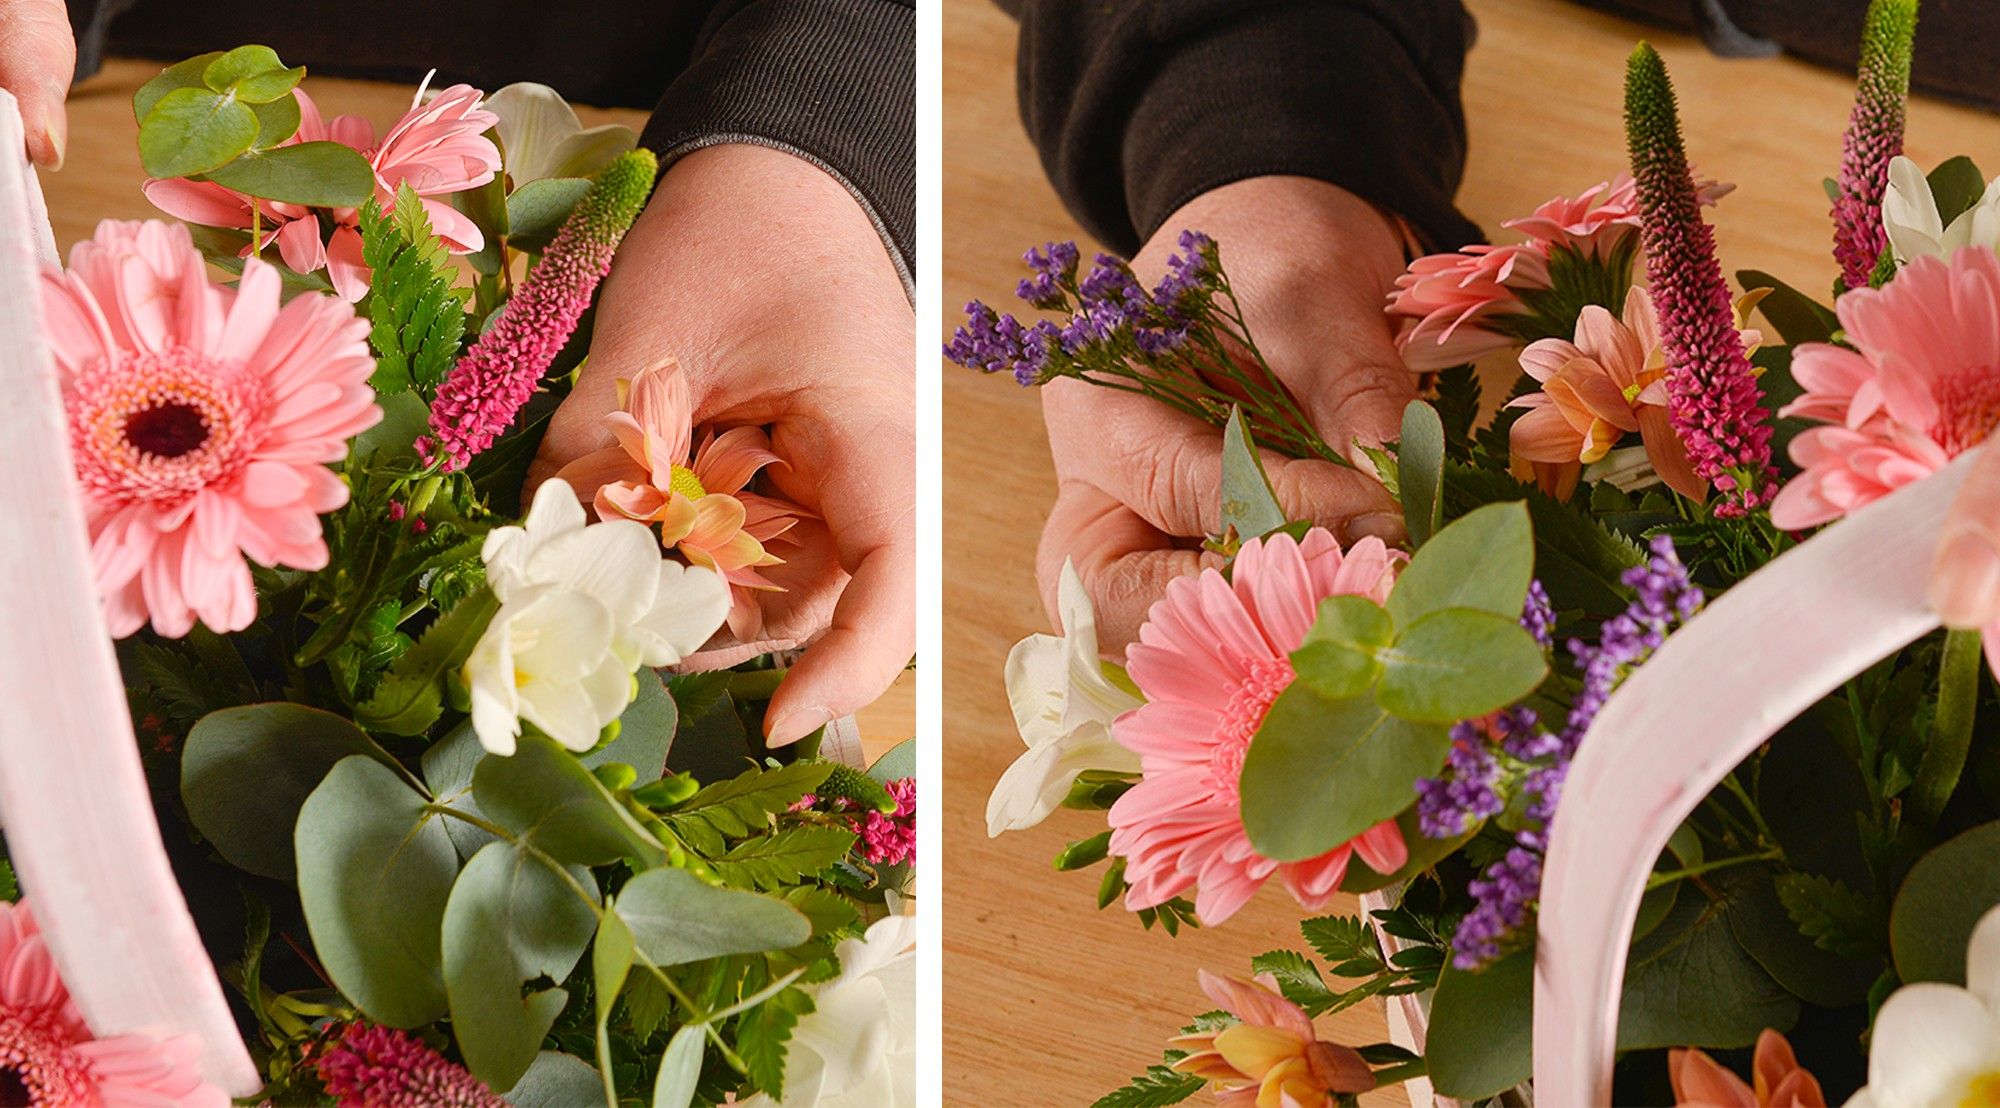
Step 7)
It's now time for another filler flower; Veronica - this will add a new texture to the basket, as well as the adding some more height due to it being quite an upright-shaped flower.
Fill in some gaps with this lovely flower, spreading it in the same format around the basket.
Step 8)
Continue to add more filler flowers, your basket should be looking rather full by now! We added Chrysanthemum and Limonium next - once again, spread out across the basket and make sure to follow the same pattern of the dome-shape.
Top Tip: Keep turning the basket as you go along, to make sure there aren't too many gaps or areas that look uneven with either flowers or foliage.
Step 9)
Now for the final filler flower - Gypsophila! Fill out the remaining gaps with this beautiful dainty flower - you shouldn't have any gaps when this flower has been popped in, so if you do, make sure you see what flower or foilage could be missing in the area.
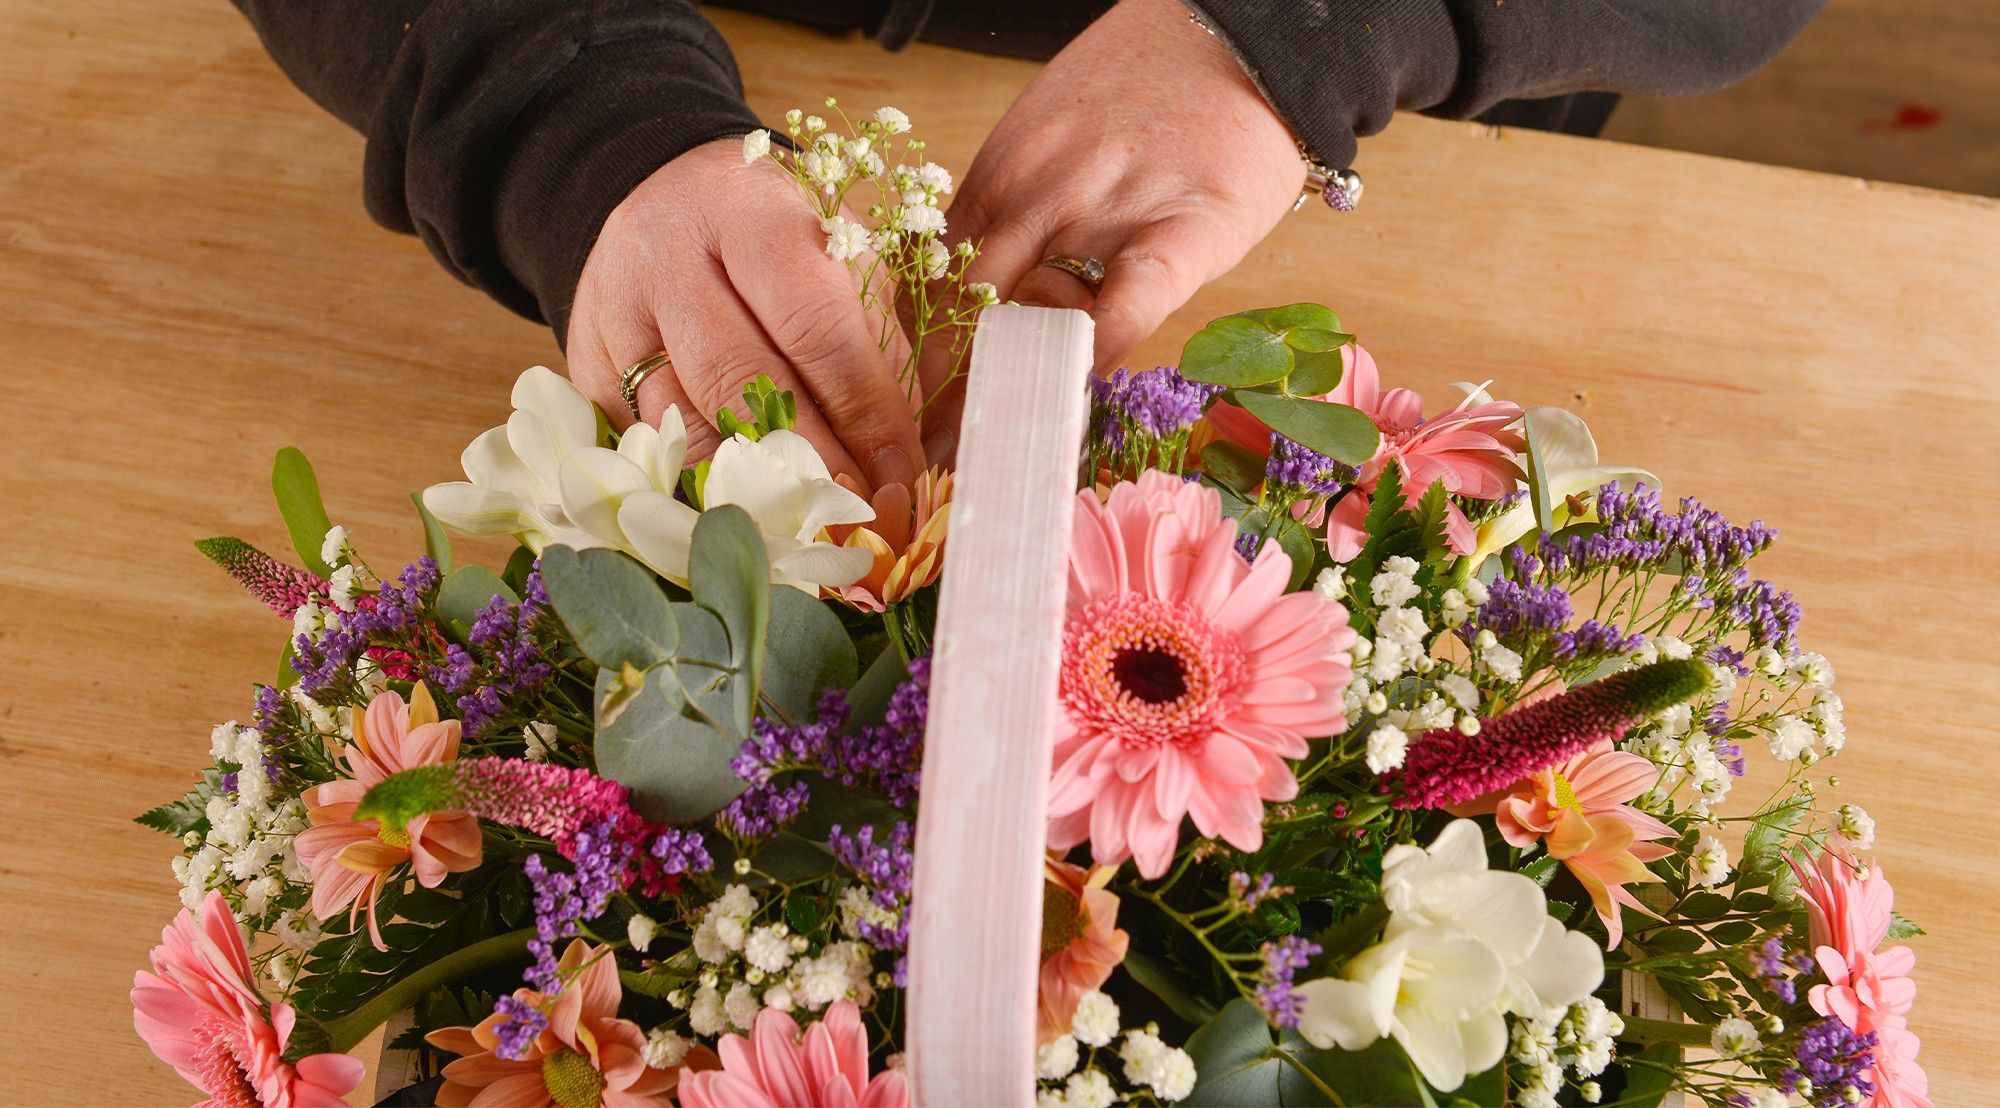
Step 10)
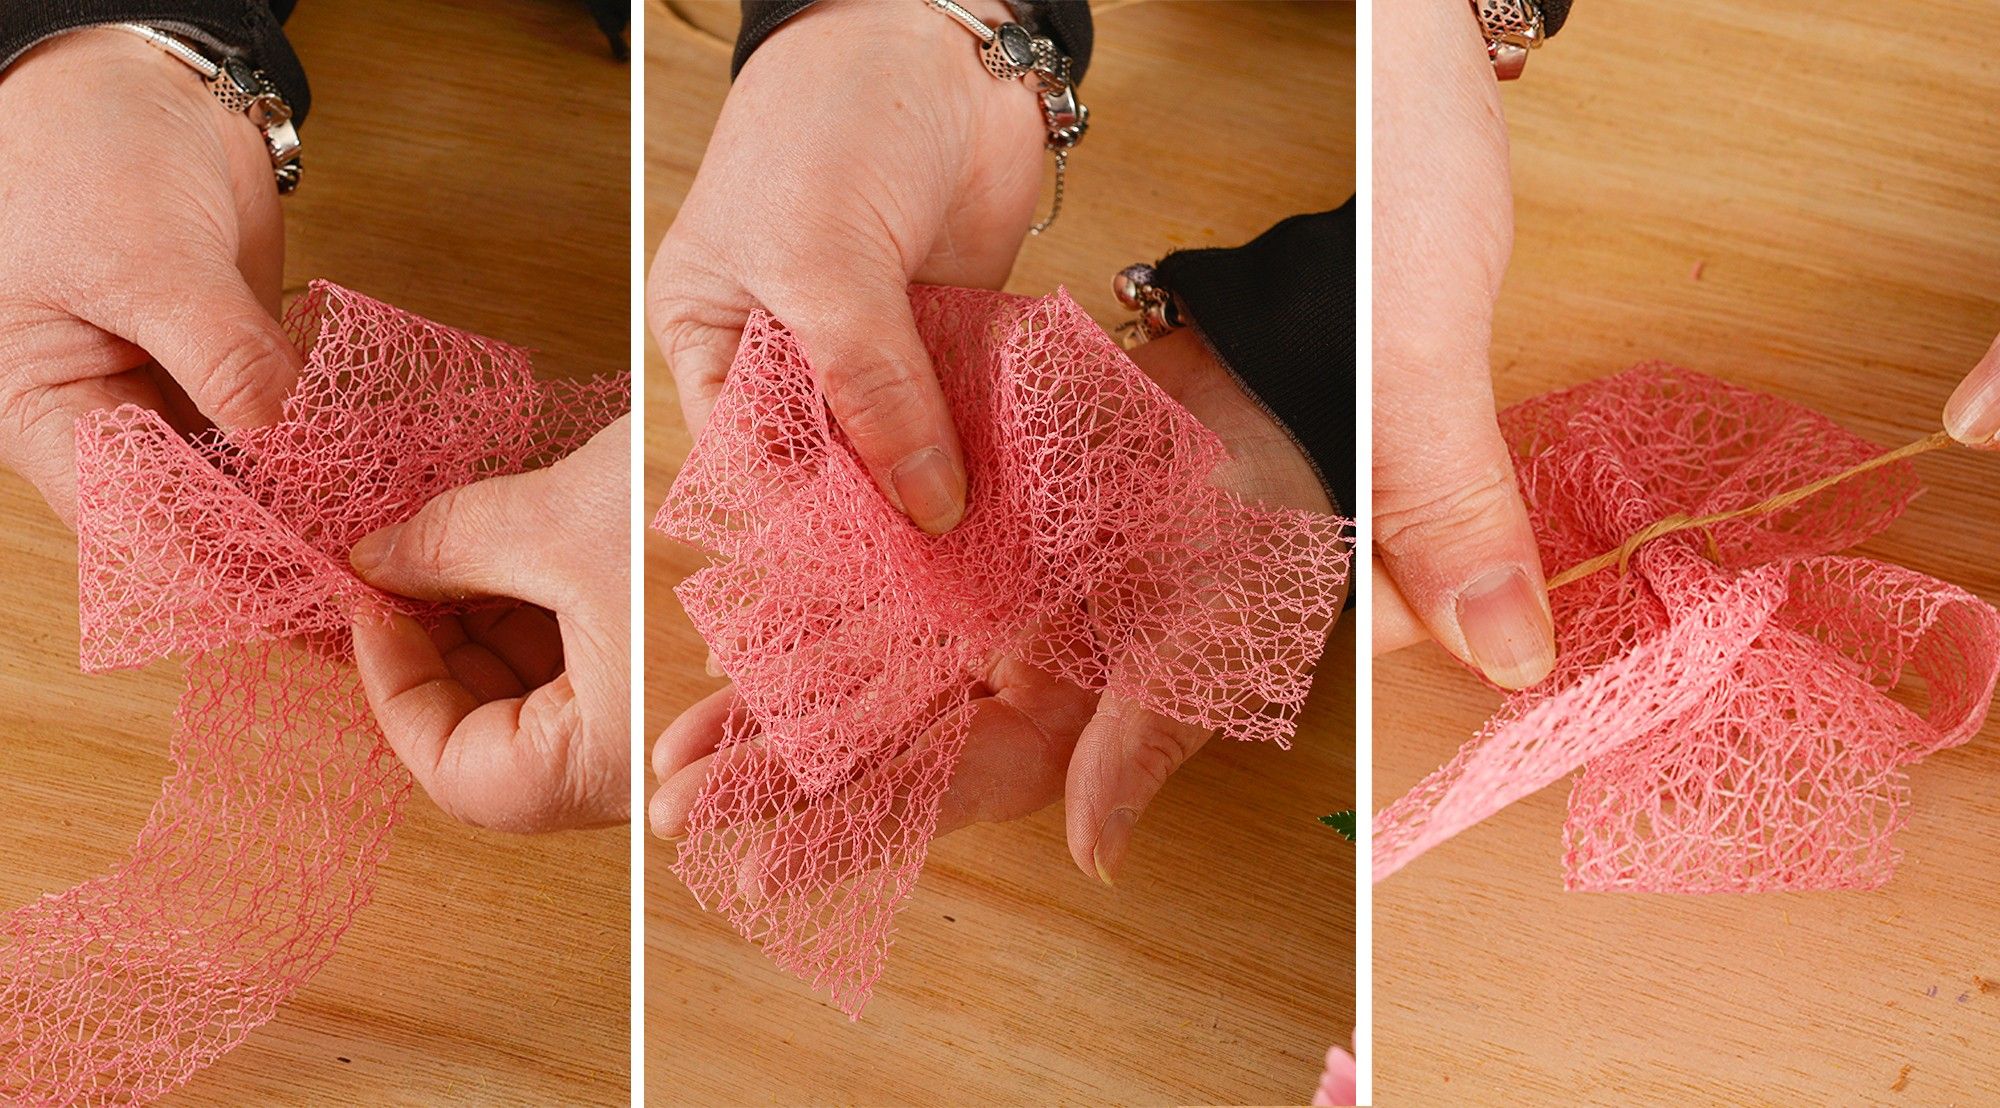
Finally, it's time to make and attach your handmade Bow! Using your choice of ribbon - we recommend thicker ones, either mesh-like or wired ones to create a nice bow shape.
Hold the end of the ribbon and make 4 loops by turning and overlapping in the centre, while holding with one hand. When you are happy with the bow ends, cut from the roll at your desired length.
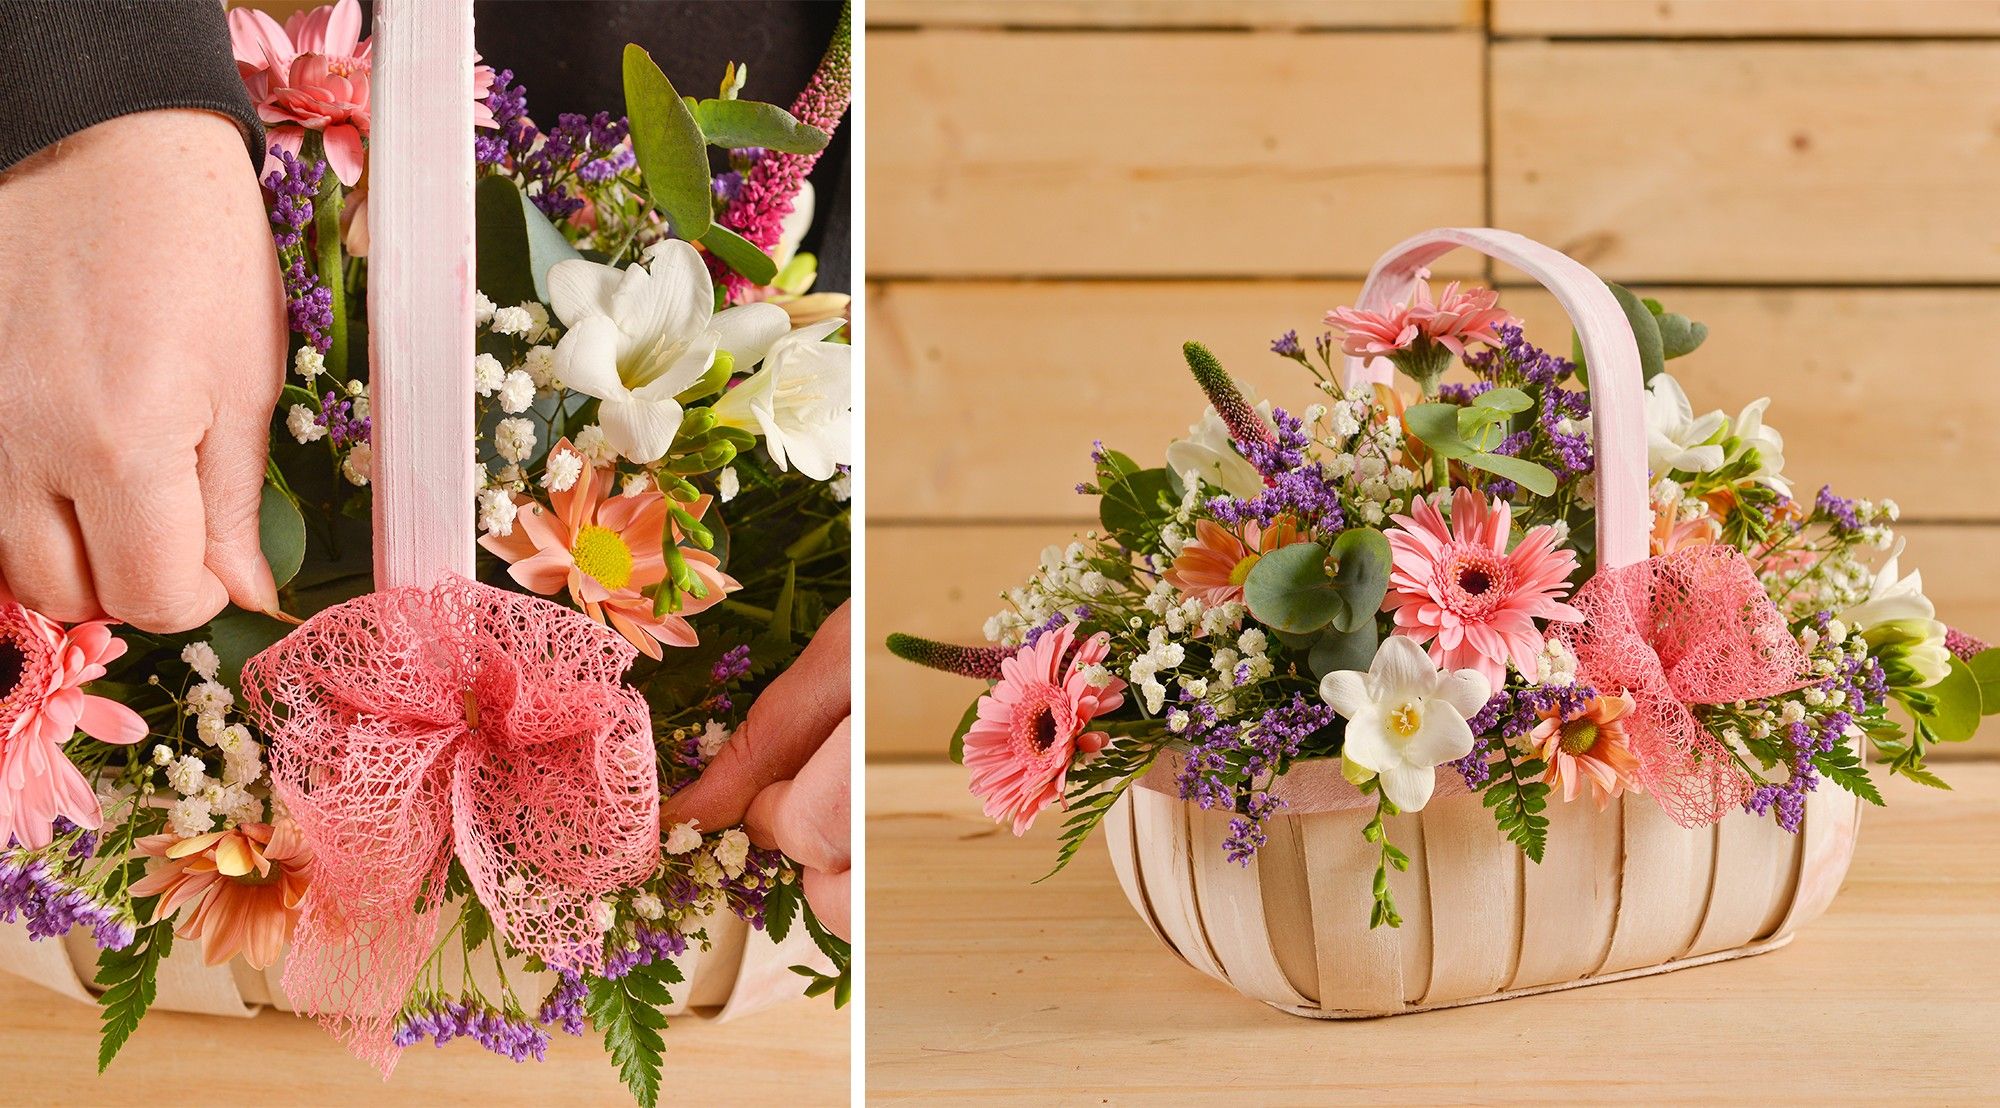
Use a small piece of string to tie tightly in the middle of the bow (where your hand was placed), then tie onto the side of the basket handle.